domenica 22 gennaio 2012

ALLIED CAMPAIGN 04 - NORMANDIE

OBJECTIVES:
1 - OCCUPY THE WESTERN BEACH
2 - GAIN CONTROL OF THE HINTERLAND
3 - OCCUPY THE SOUTHERN BEACH

[Now, this is really a monster scenario, the first one in the game, and it's pure pleasure. There are many new units at disposal, and many ways to get the objectives, so I'll tell you mine, which could be very different from yours. There's one very important thing to deal with, it's unit experience, because with experience comes speed, which is vital in the game. Now, there's a trick to gain experience, it's not cheating, no code, it's in the game, but some of you could consider it unfair, and it's shooting our own units. A unit gains experience when it shoots, but it takes a very long time, or when it's shooted, and this way is much faster. So, if you take a vehicle, a tank or a man, and you shoot it and heal/repair it before it is destroyed, you can improve its experience up to the maximum. So take a Willy, place a Jimmy Supply Truck close to it to repair it, and have a rifleman shoot it. Take the Willy to 1000 experience, put two sub machine gunners, one heavy machine gunner and a rifleman on it and you'll have an almost unstoppable killer unit that can infiltrate enemy lines and wreck havoc anywhere. The only way you can lose it is if it finds something on his way that forces it to stop, but as long as you keep it moving, it will be very hard to get it.

Now, we have three beachheads at the start of the scenario. The first thing to do should be to capture the three heavy cannons on the riff just in front of the southernmost one, but in a short time there will be reinforcements coming from the northwest side of the map, and they will head to the hinterland, so to avoid losing units we have to first wipe out the enemy from that area. Take some snipers and shoot at the bunkers using the W key. In this way, the sniper (or rifleman or whatever) will shoot until there's someone inside the bunker/building, and when it's clear, he will stop shooting. But please note that if the bunker/building is empty, the sniper will go on shooting indefinitely. When some of the buildings in the north area will be cleared, take an experienced Willy and rush through the enemy positions, firing and killing the remaining units. When the vehicle is damaged or bullets have run out, take the Willy to a Jimmy Supply Truck and have it repaired/reloaded. Now, with the same tactic, you can take the field guns on the southern riff, and once you have them, combining snipers fire, Willy's rushes and long range fire, nothing can stop you until the end of the scenario.]

That was true with the first edition, now with the Gold Edition, experience means much less, and Willies at 1000 experience can be stopped by anybody. So everything becomes harder.

THE THREE HOWITZERS
At the very beginning, the three southernmost snipers advance and take advantage of the recon aircraft flying over the riff where the artillery and the mortars are to destroy the Maultier supply truck and kill two officers which are running to enter the bunkers that overlook the beach.
The Maultier supply truck is hit by the three snipers on the beach


NORTH BEACH
First thing to do is make room for the reinforcements which will enter from the northwest side of the map and will head to the forest. Willies are now only good to draw fire from a certain distance, so a single Stuart tank is enough to attack and break through the first line, as there is no antitank or Panzerfaust. Then come the snipers, which eliminate all the enemy units manning the many antitank guns forming the second line.


Snipers slowly advance and kill all German soldiers manning antitank guns

BUNKERS
Time to take the five bunkers on the beach from the north, as allied reinforcements keep entering the scenario and move very near the enemy on the fringe of the forest. Snipers kill enemies inside the bunkers, while tanks destroy the barn, as for unknown reasons snipers' fire has no effect on infantry inside the barn. Anyway, it's always better to keep an eye on fresh units entering the map, and move them to a safe position.


FIELD GUNS
Once room has been made for fresh units to enter, it's time to take the three field guns on the plateau. Some snipers shoot the bunkers, houses and tower to kill everyone inside. The barn must be hit by a nearby gun, as snipers fire is ineffective against it. Once all hidden enemies have been eliminated, a Willy rushes to where field guns and mortars are, killing the soldiers manning them. Otherwise, it's possible to send a soldier up through a passage in the riff, the guy will be killed my mortars fire, but it will be enough for snipers in a safe position to kill enemy soldiers operating the mortars. Once the plateau is clear, snipers will come and from a vantage position they will kill two anti-tank crews to the north and to the east. So, three field guns, two mortars and two anti-tank guns have been captured.


NORTH VILLAGE
Allied soldiers have been parachuted in the far north corner of the map. Some of them, with an officer, move to the ledge overlooking the village. Some tanks move to the spot, ready to shoot at enemies patrolling the streets when they enter their fire range. Blood will flow. An allied soldier moves to the west corner of the ledge to keep an eye on a Tiger tank that sooner or later will come from north-west. 


LITTLE HOUSE ON THE PRAIRIE
Just north of the plateau where the big guns have been captured, there's a lonely house defended by three bunkers, a barn and two anti-tank guns. The newly-captured field guns take out the barn, while the snipers can do the rest, shooting the bunkers and advancing slowly to spot the guns and kill the crews.


THE FOREST AND THE TREES
Now it's time to free a large forest area in which six mortars and many tanks are, the most deadly of these is a Nebelwerfer. Two strong positions and some Willies which rush through the trees to spot the enemy units and the three big guns nearby to hit them.
West border: a sniper and two anti-tank guns.

South border: an officer in the bunker, six anti-tank guns, three snipers and three big guns.


THE BRIDGE
Now it's time to cross the bridge. On the North bank usually there are five enemy soldiers walking around, and two, seven and four lurking in the buildings, for a total of 18 German soldiers, plus 2 SdKfz anti-aircraft units. The matter is simply solved: first a Stuart rushes in the middle of the enemy destroying the SdKfz's, then a Willy rushes around, killing the men hidden in the buildings.
North bank before the attack
North bank after the attack.

Same situation on the South bank: five plus four men in the buildings and five Sd.Kfz.'s patrolling the place. First the Stuart rush, then the Willy, and the place is clear.
South bank before the attack

South bank after the attack

THE LAST VILLAGE
The last village to conquer is hard to get, as there are ten tanks of various types and enemy soldiers in almost every house. So, to make things easier, artillery pounds hard and destroys all buildings, hoping in the process to hit some of the tanks. At a certain point, the tanks will leave the village and join the field guns just to the west.

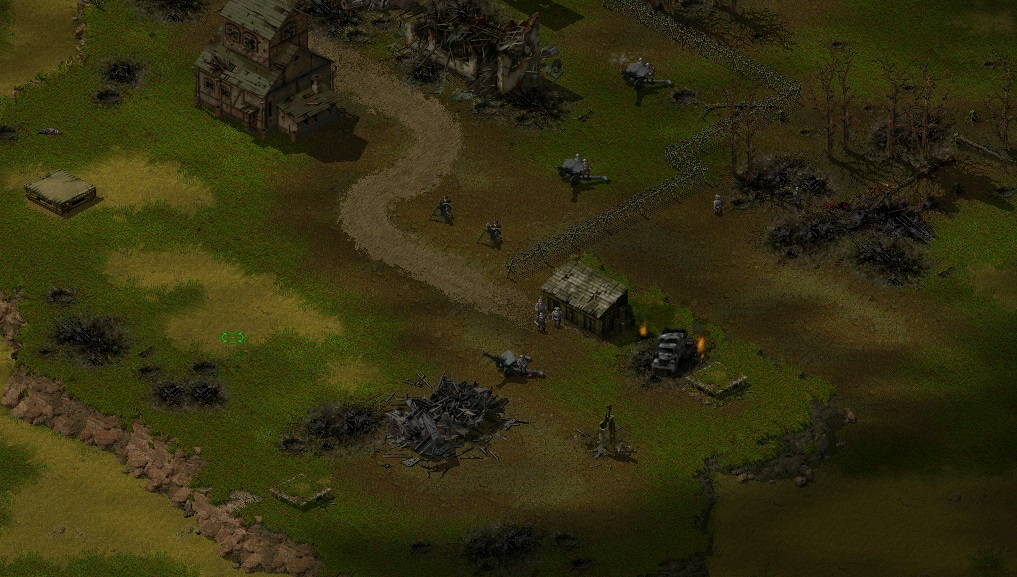
German tanks are eliminated and three field guns have been captured

THE FINAL ATTACK
The remaining enemy units are scattered in the woods: six mortars, four AT guns and twelve soldiers. Artillery softens defenses and an advancing sniper spots the remaining enemies which are killed by the sniper himself or by field guns.


martedì 10 gennaio 2012

ALLIED CAMPAIGN 03 - THE BRIDGE


At the beginning of the scenario there are 24 american riflemen and 3 officers in the same map and location of the previous scenario with french commandos.
Enemy is scattered on the map in seven platoons.
1° Platoon is in the south corner of the map: four Sdkfz 250/9 Greif, four Sdkfz 231, four Sdkfz 7/1 Anti Aircraft and some infantry.

2° Platoon is guarding the access to the first bridge, thirteen men plus some in the bunker, and three unmanned Pumas

3° Platoon is on the other side of the river, 11 infantry units.
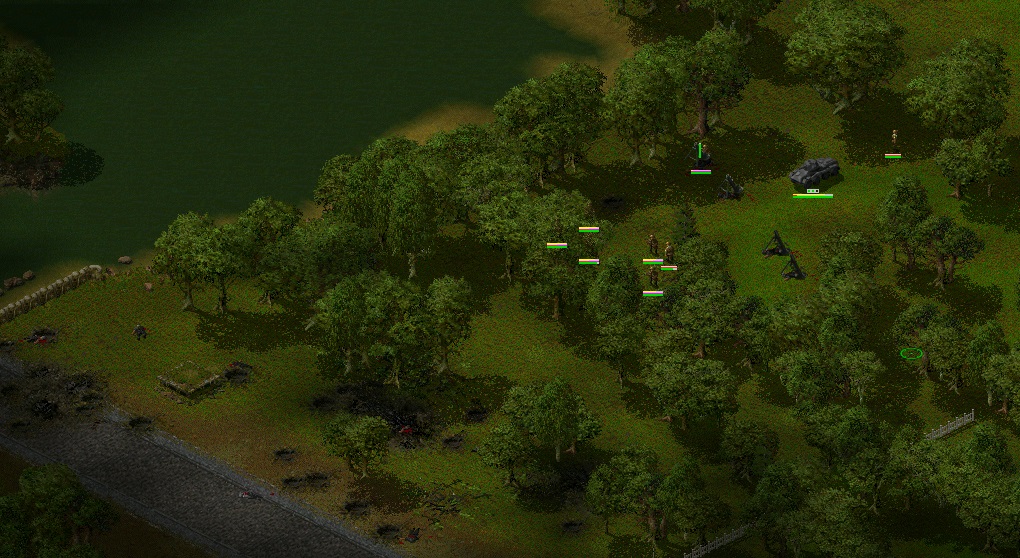
4° Platoon is on the outskirts of main village, center map, 26 infantry units.

5° Platoon is made of 7 armor units: three Sdkfz 231, two Panzer II Luchs and two Panzer IV F, east of the main village.

6° Platoon is made of 4 Granatwerfer 34, 4 Pak 38L/60 anti-tank and 29 infantry units.

The 7° Platoon is made of some men hidden in the bunker and in two houses of the northernmost village.

 The first thing to do, and it's absolutely vital, is to lay down as many mines as possible, just where the riflemen are, because when enemy 2° Platoon will be attacked, eight armored vehicles from 1° Platoon will move to guard the bridge, and if they're not stopped, American soldiers are doomed. So, pause the game, select every man and assign him to lay a mine, and after it's done, pause again and repeat the operation for the second mine. This is a must do.


This is where to lay the mines, the little white dots.

Now, American soldiers advance with great caution to the north, placing the riflemen in a line with the officers just behind them, to easily spot the enemy. As soon as the first german soldier will be shot, a siren will blow and the enemies will come to look for the enemy. If the American soldiers are well placed, the firepower will stop the Germans from getting too near, and it should end up with just some wounded man.
An officer and five riflemen made all this bloodshed

In the meantime, German tanks arrive but are all destroyed by the mines placed at the beginning.
American soldiers watch as German tanks explode and burn.

As soon as the enemies are wiped out, at least six riflemen rush to the bridge, where they'll find three unmanned Pumas APC and take control of them.
American soldiers rush to capture APC

Once Pumas are captured, Americans can send the tanks to destroy the rest of enemy 1° Platoon in the south corner, to get points, otherwise let them be, as this is non-influent to finish the scenario. Americans now attack 3° Platoon on the other side of the river, then cross the bridge with infantry units.
Firing squad eliminates all eleven Germans of 3° Platoon

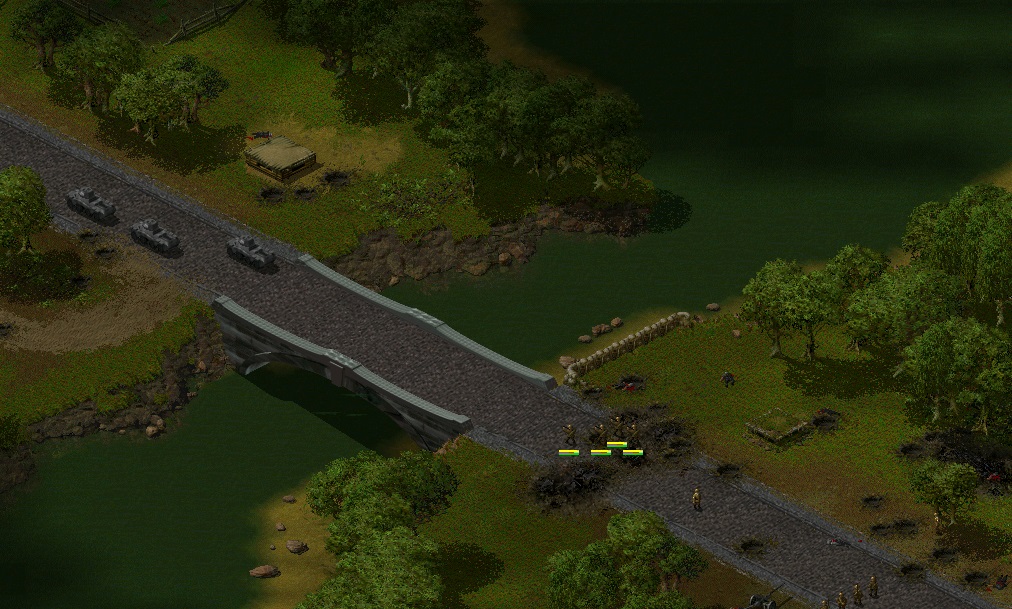
 When all the units have crossed the bridge, Pumas destroy it and the first objective is reached.
Once all units have crossed the bridge, APC destroy it.

In the meantime, five planes are launching paratroopers along the north-east side of the map: 5 officers, 10 heavy machine gunners and 45 riflemen. As soon as Americans have crossed the bridge, 4° Platoon will come from the north. An officer goes on the turret with <HOLD FIRE> button marked on the control panel, so it's possible to see the enemy without being seen. A Puma can easily eliminate enemies one by one, keeping at a certain distance.
Just one Puma goes back and forth and kills all German troops.


When it's over, it's time to cross the second bridge, but it won't be an easy task. Platoons 5, 6 and 7 are still on the map, and they all must be destroyed.
It's easy to get rid of the seven tanks of 5th Platoon. The main village is clear. American riflemen lay mines all over the streets, not just mail street, then enter the houses and hold fire.
All streets of main village are mined

Now it's time to attack 6 Platoon, the hardest task of the scenario. Mortars are the most dangerous threat, and it's just a matter of position. This is how to attack them.
American riflemen have just killed German units managing the mortars

Now it's anti-tank guns turn. This is how to kill the men managing the first from the right.
An officer and three rifleman are enough to kill the Germans managing the first anti-tank gun.

Then the first from the left.
This is how to get rid of the second anti-tank gun.

During the attack, at a certain point the seven tanks of 5th Platoon will cross the main village to guard the last bridge. They will find death in the streets.
German tanks exploding as they cross the streets of main village.

American riflemen proceed and attack the remaining enemies.
Americans attack the remaining units of 6th Platoon

The area has been cleared, American units can now cross the bridge.

Before crossing the bridge, shoot the enemies inside the bunker.
Four American riflemen shoot the enemies inside the bunker.


Now, freeing the village is very simple. The enemy is in two houses: the last one on the left along the main road, the light blue one, and the big one just in front of it. If you want to do it big, there are four mortars in a meadow just left of the road, you can use them to destroy the houses.
Captured mortars destroy houses where the enemy is hiding.

To finish the scenario, the bridge must be destroyed, it's not in the objectives but it must be done to proceed to next scenario.
Victory - End of scenario.


giovedì 5 gennaio 2012

ALLIED CAMPAIGN 02 - FRANCE RESISTANCE

OBJECTIVES:
1 - DESTROY THE BRIDGE AND DEPOT
2 - THERE WILL BE BOMBERS AT YOUR DISPOSAL ONCE THE ANTI AIRCRAFT CANNONS HAVE BEEN CAPTURED

Well, the second one is not an objective, it's just an advise you have to capture the anti aircraft cannons to use the bombers to destroy the bridge. We have 28 french commandos and three officers, and after a while american paratroopers will arrive and attack the enemy south of the river, but you won't be able to control them. The enemy has six anti aircraft guns and if we don't  wipe out at least four of them, it will be hard times for the yankees. Please note that american losses don't count in the final score, so someone could think about waiting for the paratroopers to do the dirt job, but this is really cowardy, so let's see how to do what we can.

Take an officer and a commando from the north-west group and move in sight range of the nearest building, where an anti aircraft cannon is. Taking advantage of the officer's superior sight range, kill the cannon crew and all the others that will come to take their place.

How to take position to kill 10 enemy units.
Do the same thing with the east group, the AA cannon is in the corner near the building with the two chimneys.
How to get the second AA and kill 5 german units.
Now, about the south group, the larger one, take an officer and a couple of experienced units and move carefully to the northwest, there are two AA guns in the midst of the trees.
How to take position to get the first AA in the woods
Taking the second AA in the woods
Once you have captured them, you have to take care of a heavy machine gun just outside the woods, to the north. Then proceed very carefully and kill other enemy units you find near the buildings. Do the same thing with the enemy units in the depot north of the bridge. By this time, the american paratroopers should arrive: let them take the last two AA cannons in the woods to the west, if you'd venture there you would probably take losses.

When the yankees have come, the first thing to do is to take the north-east AA gun and move it near the north-west one, as in a matter of seconds six Sd.Kfz AA units will attack from north-west, along the river, and the AA guns are the only way to stop them.

The fight against the SdKfz. One AA gun is enough.
Once you have eliminated the Sd.Kfz, just select two bombers, one for the bridge and one for the depot, destroy them and the scenario is finished.
The final attack.
Units destroyed:
Infantry: 73
Vehicles: 6

Units lost:
Infantry: 6

Score: 18450