
At the beginning of the scenario there are 24 american riflemen and 3 officers in the same map and location of the previous scenario with french commandos.
Enemy is scattered on the map in seven platoons.
 |
| 1° Platoon is in the south corner of the map: four Sdkfz 250/9 Greif, four Sdkfz 231, four Sdkfz 7/1 Anti Aircraft and some infantry. |
 |
| 2° Platoon is guarding the access to the first bridge, thirteen men plus some in the bunker, and three unmanned Pumas |
 |
| 3° Platoon is on the other side of the river, 11 infantry units. |
 |
| 4° Platoon is on the outskirts of main village, center map, 26 infantry units. |
 |
| 5° Platoon is made of 7 armor units: three Sdkfz 231, two Panzer II Luchs and two Panzer IV F, east of the main village. |
 |
| 6° Platoon is made of 4 Granatwerfer 34, 4 Pak 38L/60 anti-tank and 29 infantry units. |
The 7° Platoon is made of some men hidden in the bunker and in two houses of the northernmost village.
The first thing to do, and it's absolutely vital, is to lay down as many mines as possible, just where the riflemen are, because when enemy 2° Platoon will be attacked, eight armored vehicles from 1° Platoon will move to guard the bridge, and if they're not stopped, American soldiers are doomed. So, pause the game, select every man and assign him to lay a mine, and after it's done, pause again and repeat the operation for the second mine. This is a must do.
 |
This is where to lay the mines, the little white dots.
|
Now, American soldiers advance with great caution to the north, placing the riflemen in a line with the officers just behind them, to easily spot the enemy. As soon as the first german soldier will be shot, a siren will blow and the enemies will come to look for the enemy. If the American soldiers are well placed, the firepower will stop the Germans from getting too near, and it should end up with just some wounded man.
 |
| An officer and five riflemen made all this bloodshed |
In the meantime, German tanks arrive but are all destroyed by the mines placed at the beginning.
 |
| American soldiers watch as German tanks explode and burn. |
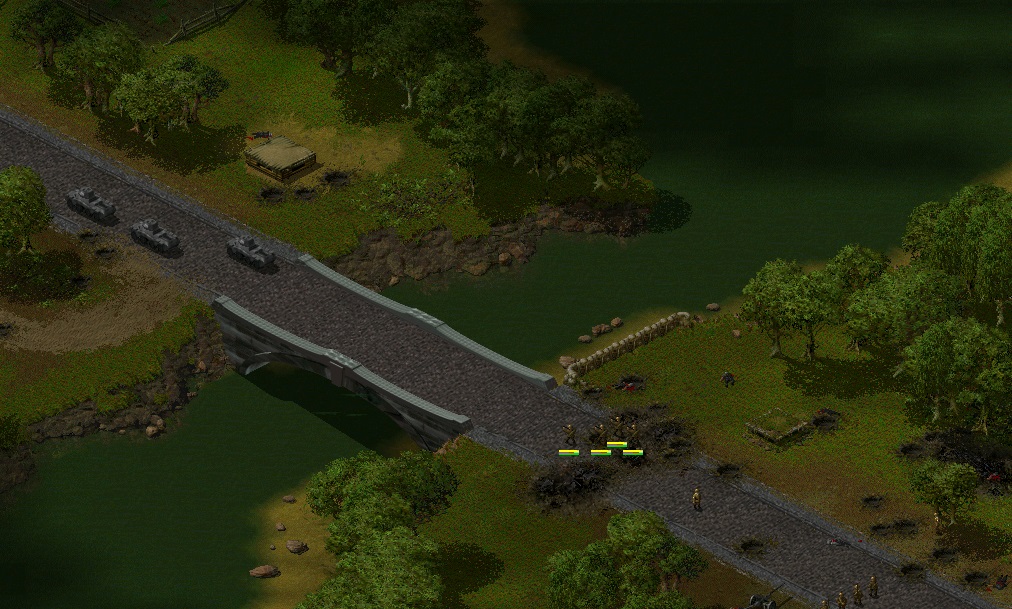
As soon as the enemies are wiped out, at least six riflemen rush to the bridge, where they'll find three unmanned Pumas APC and take control of them.
 |
| American soldiers rush to capture APC |
Once Pumas are captured, Americans can send the tanks to destroy the rest of enemy 1° Platoon in the south corner, to get points, otherwise let them be, as this is non-influent to finish the scenario. Americans now attack 3° Platoon on the other side of the river, then cross the bridge with infantry units.
 |
| Firing squad eliminates all eleven Germans of 3° Platoon |
When all the units have crossed the bridge, Pumas destroy it and the first objective is reached.
 |
| Once all units have crossed the bridge, APC destroy it. |
In the meantime, five planes are launching paratroopers along the north-east side of the map: 5 officers, 10 heavy machine gunners and 45 riflemen. As soon as Americans have crossed the bridge, 4° Platoon will come from the north. An officer goes on the turret with <HOLD FIRE> button marked on the control panel, so it's possible to see the enemy without being seen. A Puma can easily eliminate enemies one by one, keeping at a certain distance. |
| Just one Puma goes back and forth and kills all German troops. |
When it's over, it's time to cross the second bridge, but it won't be an easy task. Platoons 5, 6 and 7 are still on the map, and they all must be destroyed.It's easy to get rid of the seven tanks of 5th Platoon. The main village is clear. American riflemen lay mines all over the streets, not just mail street, then enter the houses and hold fire.
 |
| All streets of main village are mined |
Now it's time to attack 6 Platoon, the hardest task of the scenario. Mortars are the most dangerous threat, and it's just a matter of position. This is how to attack them. |
| American riflemen have just killed German units managing the mortars |
Now it's anti-tank guns turn. This is how to kill the men managing the first from the right.
 |
| An officer and three rifleman are enough to kill the Germans managing the first anti-tank gun. |
Then the first from the left. |
| This is how to get rid of the second anti-tank gun. |
During the attack, at a certain point the seven tanks of 5th Platoon will cross the main village to guard the last bridge. They will find death in the streets. |
| German tanks exploding as they cross the streets of main village. |
American riflemen proceed and attack the remaining enemies.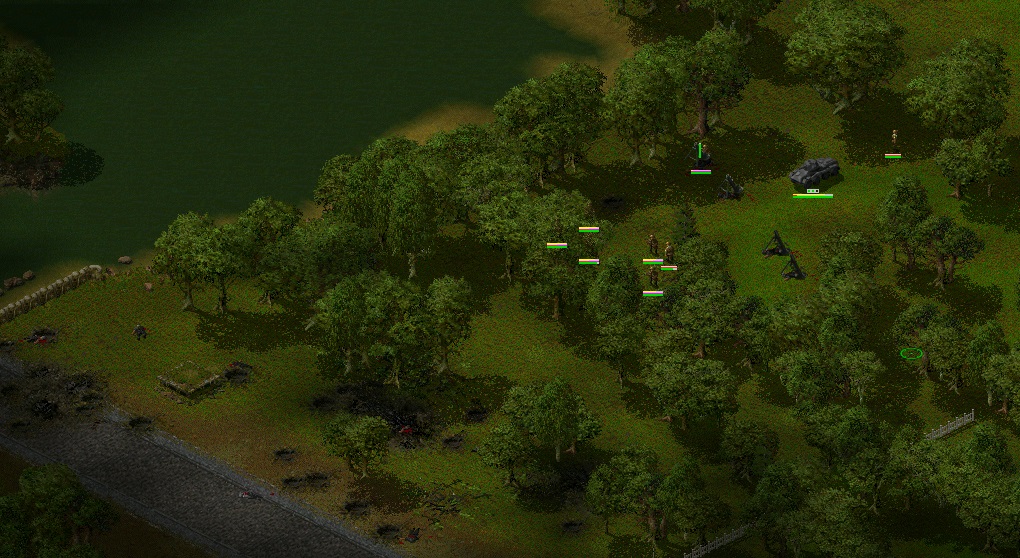 |
| Americans attack the remaining units of 6th Platoon |
 |
| The area has been cleared, American units can now cross the bridge. |
Before crossing the bridge, shoot the enemies inside the bunker.
 |
| Four American riflemen shoot the enemies inside the bunker. |
Now, freeing the village is very simple. The enemy is in two houses: the last one on the left along the main road, the light blue one, and the big one just in front of it. If you want to do it big, there are four mortars in a meadow just left of the road, you can use them to destroy the houses.
 |
| Captured mortars destroy houses where the enemy is hiding. |
To finish the scenario, the bridge must be destroyed, it's not in the objectives but it must be done to proceed to next scenario. |
| Victory - End of scenario. |


Nessun commento:
Posta un commento